一、前言
MMLab是香港中文大学深圳研究院的一个计算机视觉和深度学习研究团队,由教授陈嘉杰(Jiajie Chen)领导。该团队成立于2017年,致力于图像识别、目标检测、语义分割、人脸识别等领域的研究。MMLab开发了许多开源的深度学习工具包和算法,如PyTorch中的Detectron2、mmdetection、mmcv等,这些工具包和算法在学术界和工业界都有广泛的应用。MMLab的研究成果在计算机视觉领域享有很高的声誉,团队成员也经常在国际计算机视觉顶级会议上发表论文和做报告。
二、mmcv安装
MMCV 是一个面向计算机视觉的基础库,基本支持所有的 OpenMMLab 项目:
1.安装方案a
https://mmcv.readthedocs.io/zh_CN/latest/get_started/installation.html
根据自己的方案选择版本安装
2.安装方案b
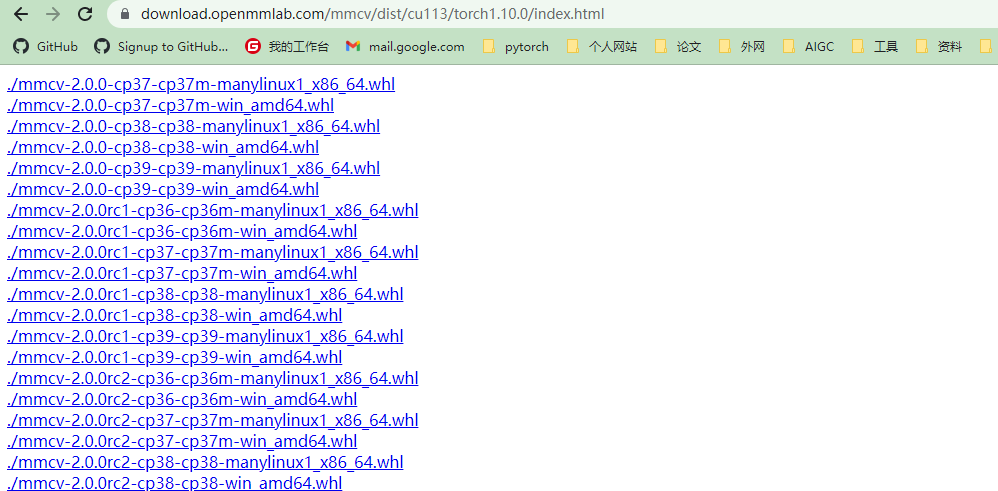
https://download.openmmlab.com/mmcv/dist/cu113/torch1.10.0/index.html
根据自己的cuda版本,torch版本(1.x.0和1.x.1兼容),修改上面网站打开,选择安装的mmcv版本,Python版本,Windows系统,下载预编制whl文件,pip install 安装
如果是2.0前的版本,还需要
pip install opencv-python
三、mmclassification使用
mmcv1.4.2
代码:链接: https://pan.baidu.com/s/1A0U7SQStbqNqxDR6lgSYbw 提取码: 7yn3
mmclassification是MMLab开源的一个基于PyTorch的图像分类工具包。下面是mmclassification文件目录的基本解释:
1.目录说明
- configs 包含模型配置文件,包括各种骨干网络、分类器、数据增强等参数的设置。包含所能使用的模型文件,一般选择一个配置作为你的模型,假如你选择了resnet中一个配置,如下:他会读取以下四个文件,生成一个新的配置文件,
这四个文件包含了模型加载,数据处理,数据加载,运行输出,日志保存等,也就是一整个流程,数据会根据配置文件走完整个流程,
- mmcls 主要代码目录,包括数据加载、模型定义、训练和测试等功能的实现。configs一般是从这调用模型文件,数据处理文件进行处理。
- tools 包含训练和测试的脚本,以及模型转换的脚本。以及可视化工具
- tests/:测试用例目录,包含一些简单的测试用例。
- docs/:文档目录,包含了mmclassification的使用文档和API文档。
- requirements/:依赖文件目录,包含了mmclassification所需的依赖库。
- LICENSE:开源协议文件。
- README.md:项目说明文件。
在使用mmclassification时,可以通过修改configs/目录下的配置文件来改变模型的参数设置,然后使用tools/train.py脚本进行训练,使用tools/test.py脚本进行测试。
2.数据集
这是一个花朵数据集,有102类别,就是文件名,
把所有图片放到一个文件夹下,并生成一个索引文件train.txt,
import numpy as np
import os
import shutil

train_path = './train'
train_out = './train.txt'
val_path = './valid'
val_out = './val.txt'

data_train_out = './train_filelist'
data_val_out = './val_filelist'

def get_filelist(input_path,output_path):
    with open(output_path, 'w') as f:
        for dir_path, dir_names, file_names in os.walk(input_path):
            if dir_path != input_path:
                label = int(dir_path.split('\\')[-1]) -1
            #print(label)
            for filename in file_names:
                f.write(filename +' '+str(label)+"\n")

def move_imgs(input_path,output_path):
    for dir_path, dir_names, file_names in os.walk(input_path):
        for filename in file_names:
            #print(os.path.join(dir_path,filename))
            source_path = os.path.join(dir_path, filename)
            # 复制文件1到文件二
            shutil.copyfile(source_path, os.path.join(output_path,filename))

get_filelist(train_path,train_out)
get_filelist(val_path,val_out)
move_imgs(train_path,data_train_out)
move_imgs(val_path,data_val_out)
左边是图片名称,右边把文件夹作为类名,然后通过索引在这取数据
3.根据自己数据修改文件
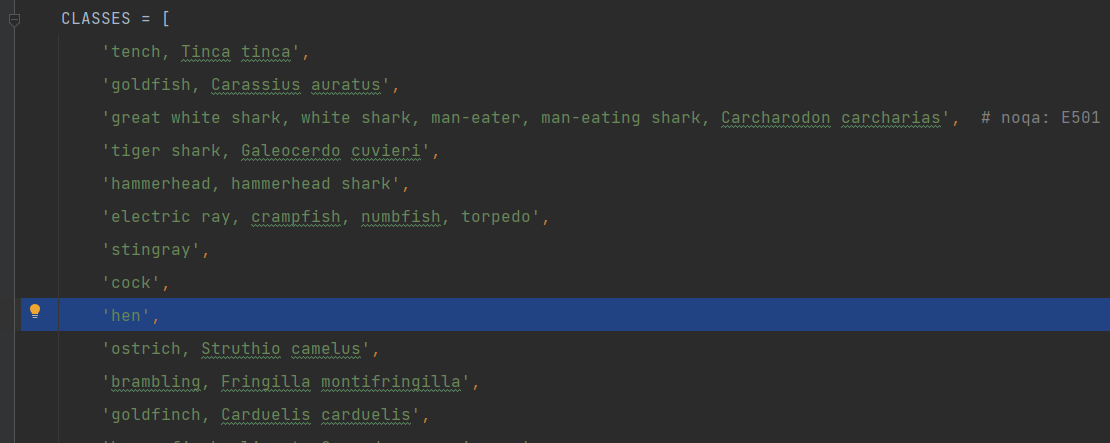
默认1000类别,然后修改成自己类别,输出会把类别转换成数字类别对应的名称
mmcls/datasets/imagenet.py
配置文件中type都是指向mmcl中类名的,所以要修改成符合自己任务,
执行train.py
../configs/resnet/resnet18_8xb32_in1k.py
会在tools/work_dirs/resnet18_8xb32_in1k/resnet18_8xb32_in1k.py生成一个总的配置文件,在这改比较好改,首先需要把数据路径改成自己的,都需要改,还有输出类别,反正就根据自己情况改。
指定预训练权重,
load_from = '../mmcls/data/resnet18_8xb32_in1k_20210831-fbbb1da6.pth'
改完重命名一下,重新指定配置文件路径运行,权重文件保存在tools/work_dirs下,
4.demo测试
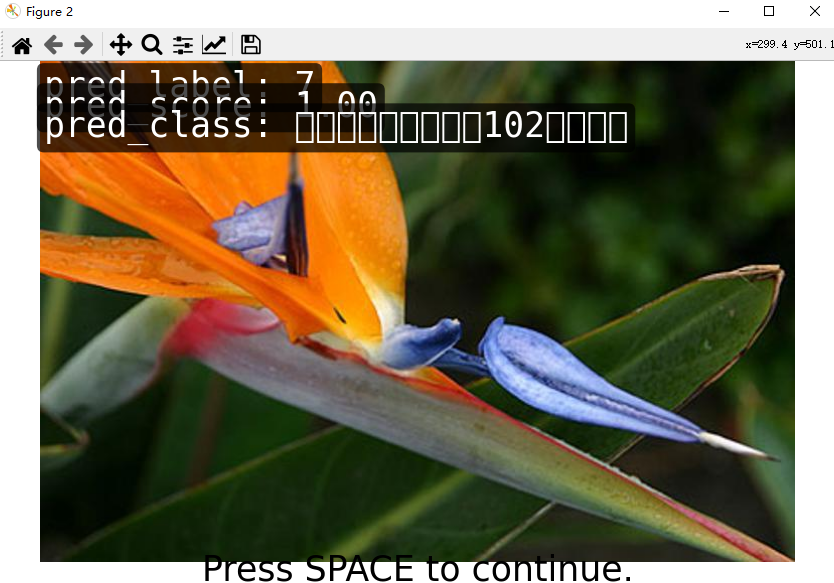
demo/image_demo.py
image_03313.jpg ../configs/resnet/today_resnet18_8xb32_in1k.py ../tools/work_dirs/resnet18_8xb32_in1k/epoch_100.pth
5.测试结果
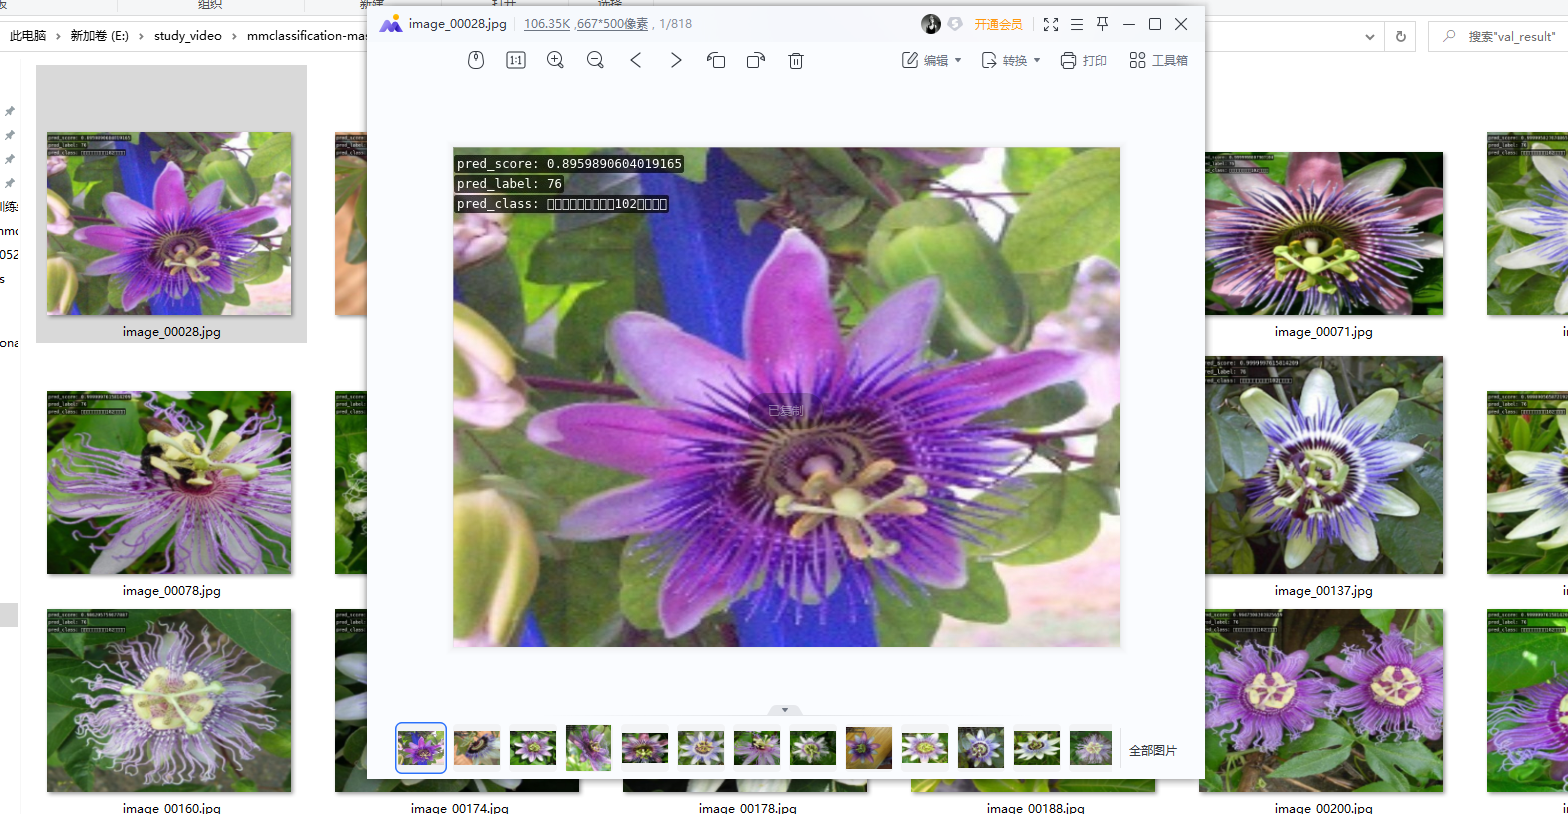
tools/test.py
../configs/resnet/today_resnet18_8xb32_in1k.py ../tools/work_dirs/resnet18_8xb32_in1k/epoch_100.pth --show
--show-dir ../tools/work_dirs/resnet18_8xb32_in1k/val_result
--metrics accuracy recall
结果保存在../tools/work_dirs/resnet18_8xb32_in1k/val_result
6.数据增强可视化
../../configs/resnet/today_resnet18_8xb32_in1k.py  --output-dir ../work_dirs/resnet18_8xb32_in1k/vis/vis_pipeline
--phase train --number 10 --mode pipeline/transformed
../work_dirs/resnet18_8xb32_in1k/vis/vis_pipeline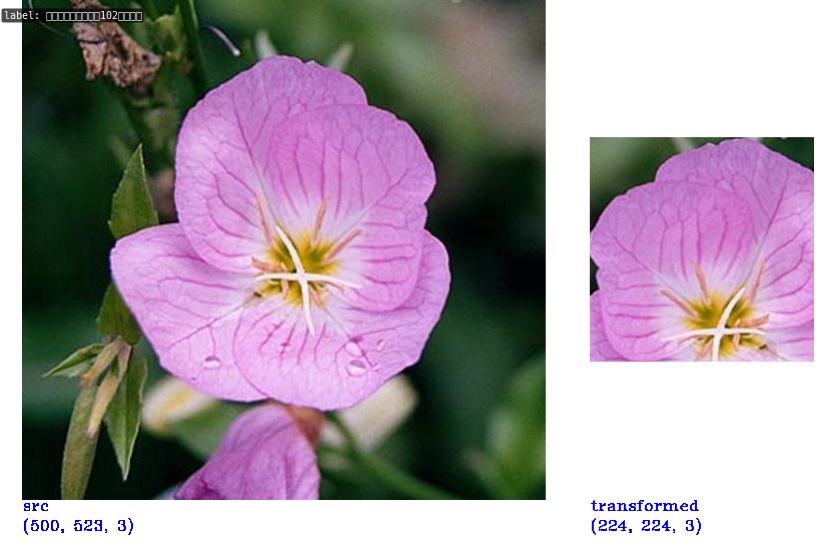
7.日志分析
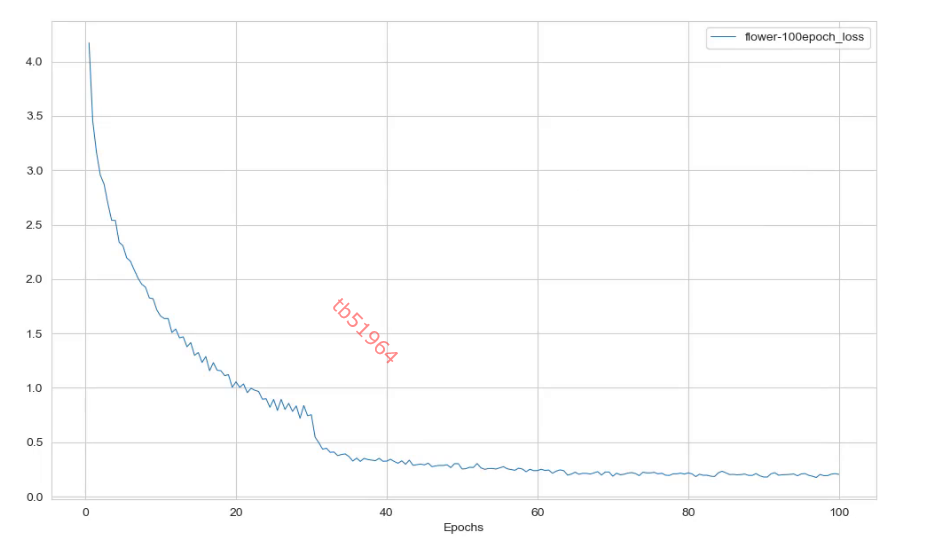
tools/analysis_tools/analyze_logs.py
plot_curve ../work_dirs/resnet18_8xb32_in1k/flower-100epoch.json --keys loss accuracy_top-1
cal_train_time ../work_dirs/resnet18_8xb32_in1k/flower-100epoch.json






评论